Setting Up Printing from your Tablet
Dine Niagara now supports printing to specific printer types from our restaurant app. You are required to have installed the app on an Android, Fire, or iOS device for printing - we do not support web-based connections for printing. Additionally, printing must be turned on for your user account in order to access the feature, so please reach out to [email protected] to enable printing for your account.
Supported Printers
Dine Niagara supports printing to 3"/80mm WiFi or Network Printers which support the ESC/POS printing language/standard. This includes many of the common printers on the market (including STAR), however you will need to confirm that your printer supports both network printing and ESC/POS before we will enable printing. Some printer models require you to make configuration changes on the printer to support ESC/POS printing for example.
If you prefer to have a dedicated printer, we have tested the MUNBYN P047 80mm Thermal Receipt printer which is available from Amazon at a very reasonable price. These printers support both wired and WiFi printing and take standard 80mm thermal paper rolls which are readily available from all major suppliers.
Setting Up Printing
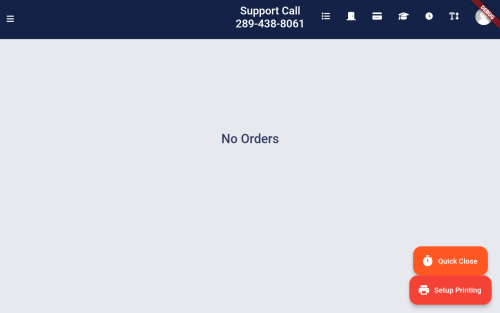
Once printing has been enabled on your account, you will see a new button appear at the bottom right of your screen to setup printing.
Before setting up the printing, however, you will need to get your printing access key for your account as well as the IP address of your printer.
Your printer IP address should be available on the status/print page that you get when you turn on your printer. Some printers require you to hold the feed button when starting up, you'll need to verify from your printer manual what is required to get your IP address.
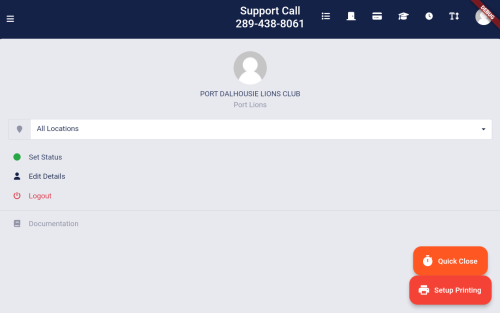
Your printer API access code is available from your user settings on the tablet. Tap the "person" icon at the top right of your screen.
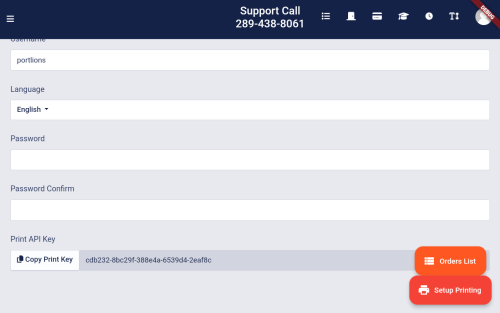
Then tap on the "Edit Details" link to enter your user settings and scroll to the bottom of the user settings page.
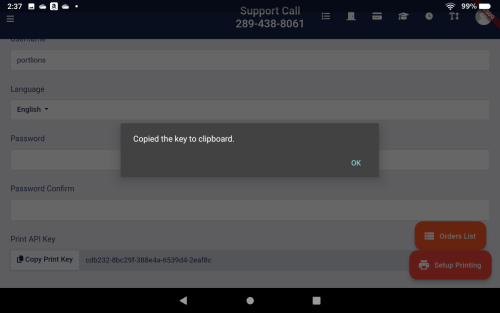
You will need the API key to plug into the settings screen, so we have made it easy. Tap the "Copy Print Key" button on the left of the key and you will get a confirmation that the code was copied into your clipboard on your tablet.
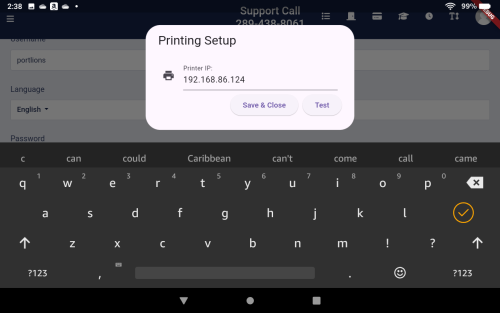
Now you can tap the "Setup Printing" button at the bottom right of the screen to configure printing for your app/tablet.
There are three sections to enter on this pop up window:
- Printer IP Address: Enter the IP Address you received from your printer setup. This should be 4 sets of up to 3 digits (xxx.xxx.xxx.xxx).
- Print API Key: Paste the print API key you copied from your user settings in this box. You may need to press and hold in the empty space to get the paste option to pop up.
- Polling (seconds): This is defaulted to 5 seconds, and is the frequency that you want the app to check for pending chits to print. Our default is 5 seconds which should be sufficient for most restaurants.
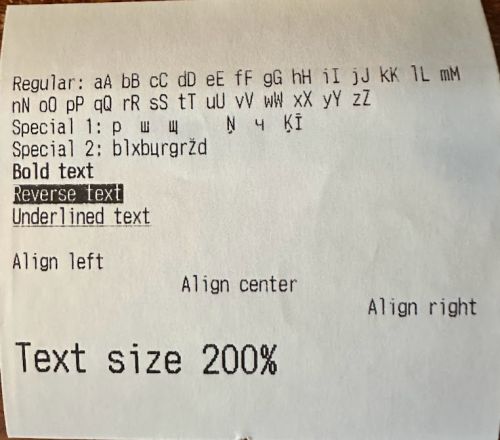
You then must tap on the "Test" button to confirm that the printer is working correctly and we will send a test print of a number of text styles to the printer.
If everything looks as expected, then you are good to go. Just tap the "Save and Close" button and you'll see that the button at the bottom right changes to "Printing Enabled" in green.
Printing Chits
The Dine Niagara App is configured to automatically print every chit as soon as you accept the order. This works whether you accept or accept and delay the order. The printing will happen automatically within approximately 5 seconds (based on the polling interval in settings).
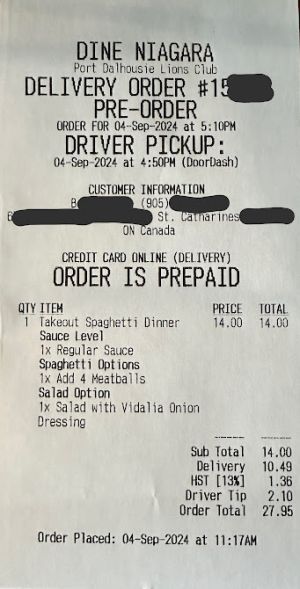
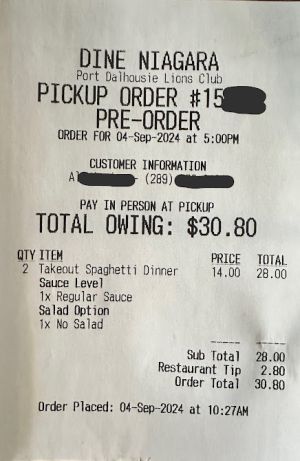
Example chits are shown to the right and below:
You can see from the different chits that the printout provides some key information:
- Restaurant Location for the Order: If you only have one restaurant brand, this will always be the same.
- Pickup or Delivery Order & Order Number: It is bold and clear whether this is a pickup or delivery order.
- ASAP or Pre-Order: It is bold and clear whether this is a pre-order for the future or an order that should be prepared right away
- Target Order Ready Time: This is the date and time that the order should be ready for pickup by the customer or delivery driver (including delivery network information if you use our delivery service), or the time that the customer would like the food delivered (or what was committed) if you do your own deliveries.
- Customer Information: The customer name and phone number is available for all orders. Delivery address is printed on all delivery orders.
- Payment Method: We clearly mark what payment method was selected by the customer.
- Total Owing or Order Prepaid: We make it clear what is owing if the customer has chosen to pay at pickup (or on delivery if you do your own deliveries), or that the order has already been prepaid and does not require payment at pickup. Note that this amount includes any tips that the customer has already selected during the ordering process.
- Order Details: We provide an itemized list of the order details including any options/modifiers and comments including pricing details.
- Order Totals: We provide a full list of all totals including tips, discounts, taxes, etc.
- Order Comments: If the customer has provided order level comments we will include them on the printout.
- Order Placed Date/Time: The date and time that the customer actually placed the order.
Reprinting Chits
You can reprint your chit two ways:
From the order card on your tablet you'll see a new printer icon at the top right. When you tap that icon, it will queue the chit to be reprinted.
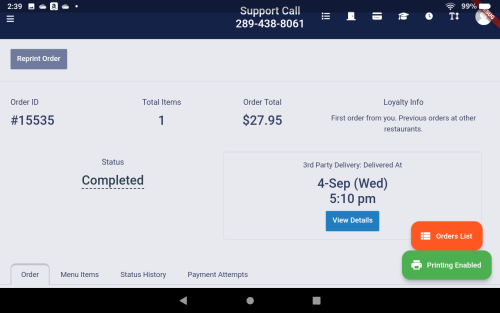
From the order detail page you have a new "Reprint Order" button available at the top of the page. Tapping this button will queue the chit to be reprinted.
Support
Dine Niagara does not provide printer hardware support. If your printer does not pass the test or you need help configuring the printer to your network, we can provide that support, however it is at additional hourly cost for a technician.
If you are having other printing issues or are interested in changes/improvements to the printing platform, please reach out to our support team at [email protected].
